
Sep 9, 2026Product Knowledge
Brake System Inspection Checklist: A Complete Guide for Mechanics and Buyers
A detailed brake system inspection checklist covering pads, rotors, calipers, fluid, and lines to help mechanics and parts buyers identify replacement needs.
Why a Structured Brake Inspection Checklist Matters
A systematic brake system inspection prevents safety failures and reduces unnecessary part replacements. For mechanics, having a standardized checklist ensures nothing is overlooked during routine service. For parts buyers and distributors, understanding the inspection process helps you recommend the right products and build trust with workshop customers.
Brake systems are complex assemblies where multiple components work together. A problem in one area often affects others. For example, uneven pad wear may indicate a caliper issue, not a pad quality problem. A structured approach to inspection saves time, reduces diagnostic errors, and helps you identify the root cause rather than just replacing symptoms.
Step-by-Step Brake System Inspection
1. Visual Inspection of Brake Pads and Shoes
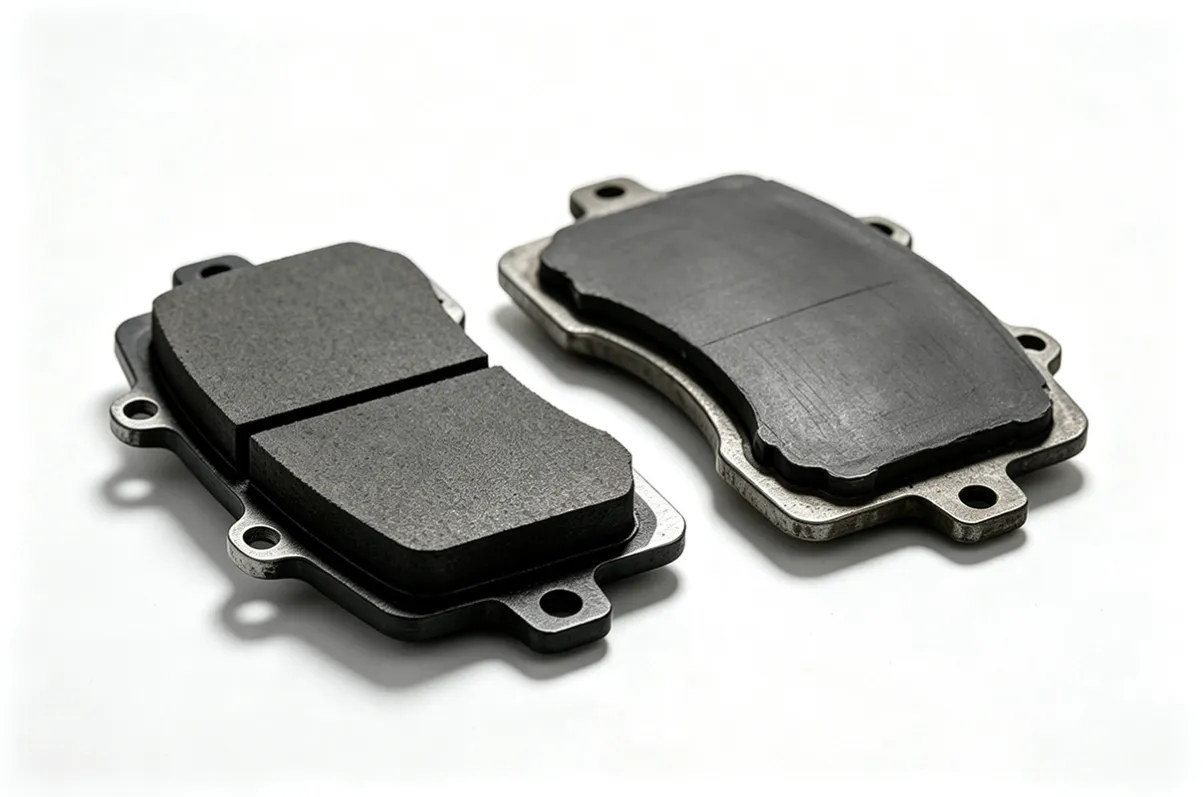
Start by examining the brake pads through the caliper window or by removing the wheel. Check the friction material thickness on both the inner and outer pads. Most manufacturers specify a minimum thickness of two to three millimeters. Pads below this threshold need immediate replacement. Also look for uneven wear patterns, cracks, or glazing on the friction surface. Glazing indicates overheating, which may point to a fluid or caliper problem.
2. Brake Rotor Condition Assessment
Inspect the brake rotor surface for scoring, grooves, and heat spots. Run your finger across the rotor surface — deep grooves indicate the rotor needs resurfacing or replacement. Check the rotor thickness with a micrometer and compare it to the minimum specification stamped on the rotor hub. Also measure lateral runout using a dial indicator. Excessive runout causes brake judder and uneven pad wear.
3. Caliper Function and Seal Inspection
Push the caliper piston back slowly using a caliper tool and check for smooth, even movement. A piston that binds or moves unevenly indicates a seized caliper or damaged seal. Inspect the caliper boots and seals for tears, leaks, or deterioration. Rubber seals that are cracked or swollen need replacement to prevent brake fluid contamination and piston corrosion.
4. Brake Fluid Level and Condition
Check the brake fluid reservoir level — it should be between the minimum and maximum marks. Low fluid may indicate worn pads or a leak in the system. Inspect the fluid color: fresh brake fluid is clear to light amber, while degraded fluid turns dark brown or black. Contaminated fluid absorbs moisture, lowering its boiling point and increasing the risk of brake fade under heavy use.
5. Brake Lines and Hoses
Inspect flexible brake hoses for cracks, bulging, or leaks. Flex hoses degrade over time due to heat, UV exposure, and repeated flexing. Squeeze the hose gently — a soft or spongy feel indicates internal deterioration. Check hard brake lines for corrosion, especially in regions that use road salt during winter. Any signs of rust or pitting on brake lines require immediate replacement.
6. Parking Brake and Cable Check
Test the parking brake lever or pedal engagement. It should hold the vehicle on a moderate incline without excessive travel. If the parking brake engages too early or too late, the cables or the parking brake mechanism may need adjustment or replacement. Check cable routing for kinks or damage that could cause binding.
7. ABS Sensor and Wiring
On vehicles equipped with anti-lock braking systems, inspect the ABS sensor wiring for damage or disconnection. Clean the sensor tip and the tone ring to remove metal debris that can interfere with signal accuracy. An ABS warning light on the dashboard often indicates a sensor or wiring fault rather than a mechanical brake problem.
How Parts Buyers Can Use Inspection Results
For distributors and parts buyers, the inspection checklist translates directly into product recommendations. A mechanic who identifies glazed pads should consider upgrading to a higher-rated brake pad material. Rotor scoring may call for a specific brake rotor type depending on the vehicle application. Dark brake fluid means the customer needs brake fluid immediately.
Understanding the inspection process also helps you ask the right questions when sourcing from suppliers. Request test reports that cover the specific performance parameters your customers need. A supplier who understands the inspection standards your workshops follow is more likely to deliver consistent, reliable products.
Building a Preventive Maintenance Program
Workshops that adopt a structured brake inspection checklist can build preventive maintenance programs for their customers. This creates repeat business, improves customer retention, and positions the workshop as a trusted service provider. Parts distributors who support workshops with training materials, inspection tools, and product recommendations become valued partners rather than just suppliers.
Contact YQF Auto Parts to discuss how our product range can support your brake inspection and maintenance programs across global markets.